With the 32- bit micorcontrollers becoming popular and also the kits/boards available at affordable prices, we at EE Herald bringing you new modules on embedded systems design practice. The idea is to provide you the inexpensive 32-bit MCU based latest hardware boards. We have selected ARM Cortex M0 based boards: LPCXpresso development board from NXP Semiconductors and STM32F0 Discovery from ST MIcroelectronics. Both the boards we have suggested here are available in India. Below is the installation and program execution guide with one simpe program for NXP's LPCXpresso board.
1. 1 PC system requirements for LPCXpresso kit installation:
Operating System: Microsoft Windows - XP 32-bit (SP2 or greater)/MicrosoftWindows - Vista 32-bit or 64-bit /MicrosoftWindows - Windows 7 32-bit or 64-bit /Linux - Ubuntu 9, 10, and 11 /Linux - Fedora 12 and 13
System RAM: 512 MB minimum (1 GB recommended)
Hard Disk: 300+ MB of available space.
Screen/Display Adaptor: 1024x768 minimum recommended
Internet Connection: High-speed internet is recommended to download and register the software
1.2 Hardware requirements:
1. LPCXpresso development board (In the previous module we have provided link to buy this kit).
To buy this kit or to learn more visit NXP website Lpcexpresso
The cost of the kit is around 2000/- Rupees
2.USB 2.0 A/Mini-B cable

1.3 IDE software installation and running the sample program:
1. You got to to download the LPCXpresso tool at LPCXpresso by creating your account by providing your email id .
2. Password will be sent to you by e-mail. then open http://lpcxpresso.code-red-tech.com/LPCXpresso/ link and login to your account and follow the instructions to download LPCXpresso installer.
3. Select the right Operarting System (OS) and also the latest version. The size is around 417mb at normal broadband speed, its takes few hours to complete download.
2.Installation process:
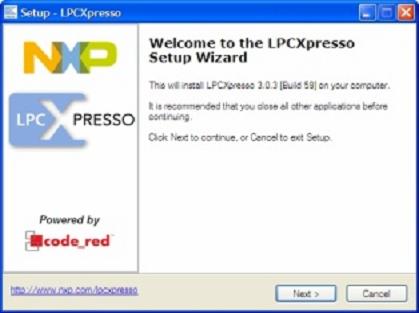
Double-click the LPCXpresso installer file after downloading. Then click "next" on the setup wizard which looks like below.
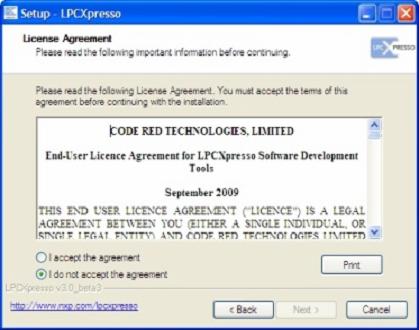
Read the license agreement and then click on the radio button before the text-line "I accept the agreement" (if you accept the agreement). Also Click on the next button to continue installation (in the window appears as shown in the picture below).
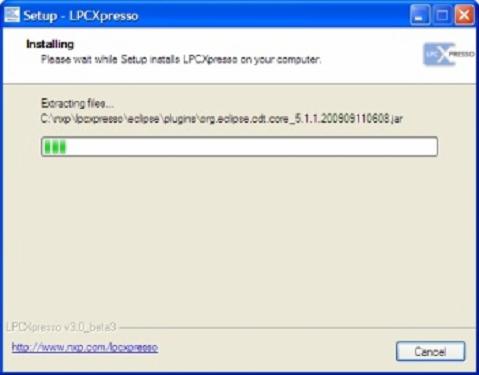
The below picture will appear for some time before the LPCXpresso installation is complete!
3 Activation
To activate your product from LPCXpresso, Open LPCXpresso choose Help->Product activation->Create serial number and register. Once the wizard is open, click "Copy to clipboard" to copy the LPCXpresso serial number into the clipboard., but contains no personally identifiable information. Now click the button to open the registration activation page. This
should display a web form. After completing the form, you will receive an activation code via email within a few minutes. Highlight the activation code in your email program, and select Copy to place it into the Windows clipboard. Now, choose select Help->Product activation->Enter activation code from within LPCXpresso. Paste the product activation code into the Product activation dialog by right clicking in the Activation code field and choosing "Paste." Then click the "OK" button. You should receive a dialog confirming acceptance of the activation code. It is also possible to complete LPCXpresso activation on a PC that is offline as long as another PC has access to the Internet.
More details are available at getting started
Running a sample program on the board:
4.1 Downloading NXP sample code from the web
4.1.1. First, select "Import project(s)" from the Quickstart panel in the lower left corner of the
screen

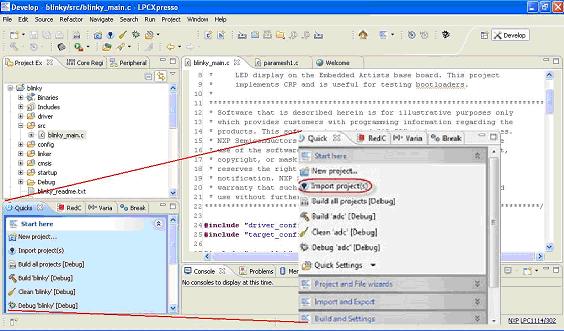
4.1.2. Next, select "Browse for more examples…" from the Import project(s) dialog
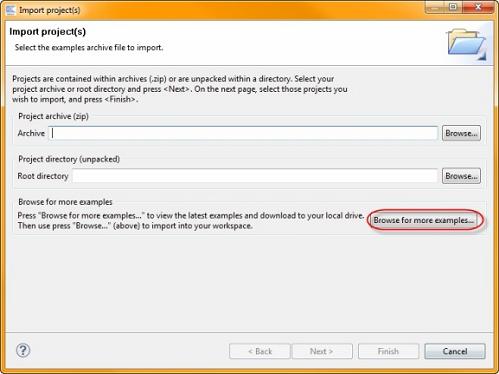
.
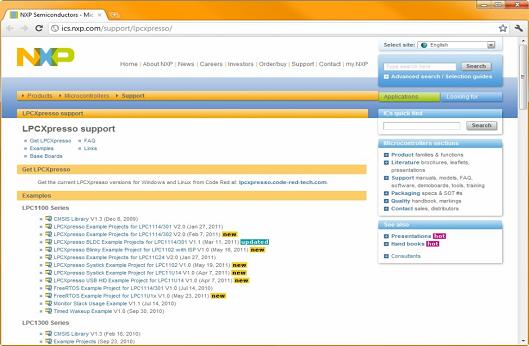
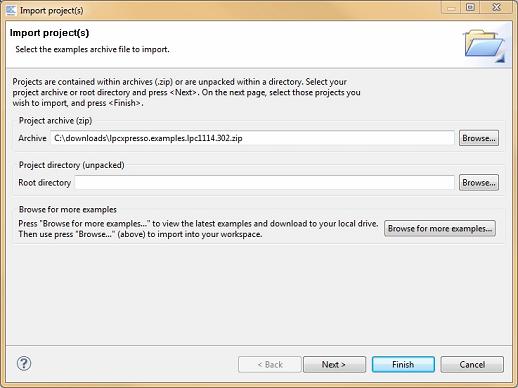
4.1.3 The LPCXpresso-Support web page should appear. It has links to NXP sample code that has been developed for LPCXpresso. Select the sample code that applies to your Target Device and download it. Then, switch back to LPCXpresso and use the Browse button to select the .zip file.
4.1.4 Now click the Next button and then choose which projects to import from the .zip file.
4.1.5 Often, there will be references between projects in a .zip file so it is best to import all of them.


4.1.6 There is also a local LPCXpresso examples directory. This is located at
C:\nxp\lpcxpresso\lpcxpresso\examples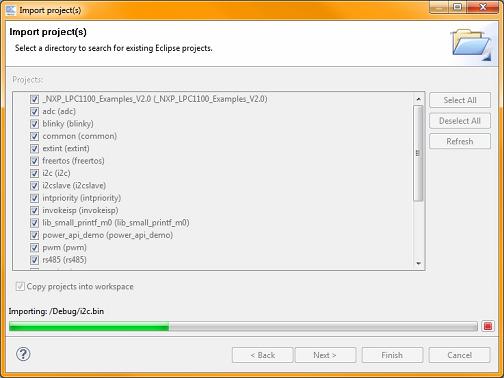
4.2 Debugging/running 'blinky' or another project on your LPCXpresso board
In LPCXpresso, when you start to debug, your program will automatically download to the target and be programmed into flash memory. So before debugging you connect LPCXpresso development board to your PC and install it . Its very simple, plug one end of the USB cable to PC USB-terminal and other end of the USB cable to the LPCXpresso board.
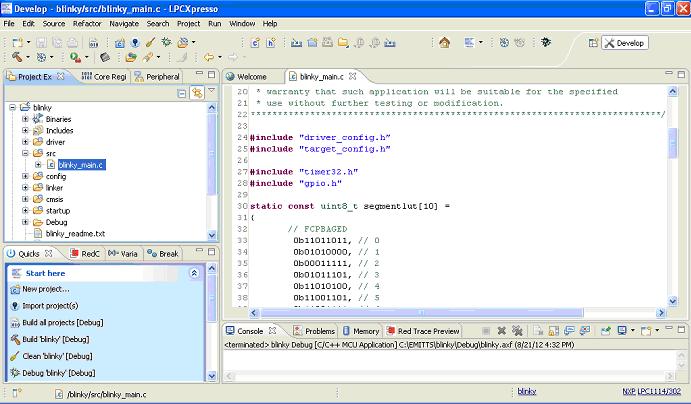
Then open project blinky, click on the folder src and open the c file 'blinky_main.c'
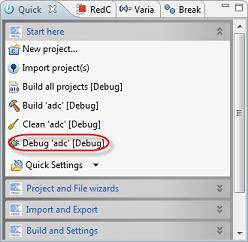
To start debugging on your target, simply highlight the project in the Project Explorer and then in the Quick-start Panel select 'Debug 'Project-name' [Debug].
After debugging, debug toolbar will come automatically as shown in bellow diagram.
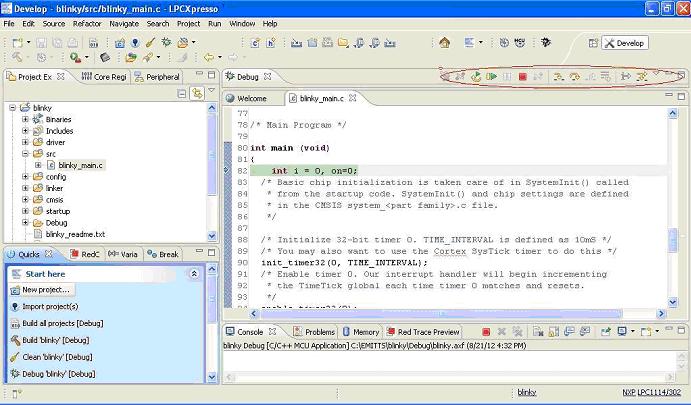
You are then presented with the debug view and toolbar and have run control over the
code running on your target. The debug toolbar will pop up above the code window.
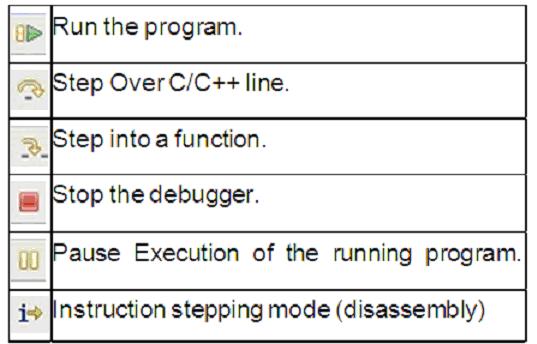
After debugging press RUN button in debug toolbar, and stop the debugger .Then you can observe LED blinking in LPCdevelopment board
Sample programs1: blinking onboard LED .
#include "driver_config.h"
#include "target_config.h"
#include "gpio.h"
int main (void)
{
int a;
GPIOInit();/* initialize GPIO (sets up clock*/
while(1) //Infinite loop
{ GPIOSetDir( LED_PORT, LED_BIT, 1 ); / * Set LED port line to output */
for(a=0;a<1000000;a++);//delay
GPIOSetDir( LED_PORT, LED_BIT, 0 ); /* Turn LED on */
for(a=0;a<1000000;a++);//delay
}
}
Many such sample programs available in the IDE for you to run.
Another sample program is explained in the next module.
Click below to visit next and other modules:
Module 4asample: Sample program using LPCXpresso
Module 5C: ARM Cortex M0 features and details -1
Module 6a: Sample program-2 (interfacing keypad)
Module 7: Serial communication concepts -1
Module 9: Controller Area Networking (CAN)
Module15: SRAM memory interface
Module16: Flash memory interface
Module17: LCD display panel interface
Module18: Touch pane interface
Previous Modules
Module 1: Introduction to Embedded Systems: Definition, application and future.
Module 2: Microprocessor, Microcontroller, MCU Manufacturers, introduction to programming.